 PHOTO #1: Ness's House
To Get: Walk into the yard any time after Buzz Buzz dies and the sun rises.
To Avoid: Just never go back home.
|
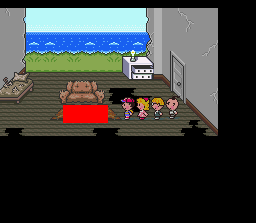 PHOTO #2: Vacant House
To Get: Buy the house from the realtor in Onett for $7500, then go inside and walk in front of the couch.
To Avoid: Just don't buy the house. Or, if you do buy it, just stay away from the front of the couch.
|
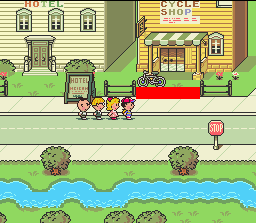 PHOTO #3: Bike Shop
To Get: Just walk up to the bike shop in Twoson.
To Avoid: Just stay away. If you really want to go inside, go around the fence or come
back later and use the PSI Teleport trick.
|
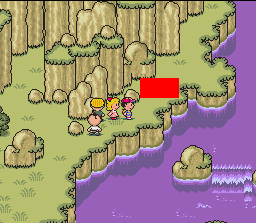 PHOTO #4: Peaceful Rest Valley
To Get: Walk all the way up to the far left area of Peaceful Rest Valley.
To Avoid: Just stay away. There's nothing there anyway.
|
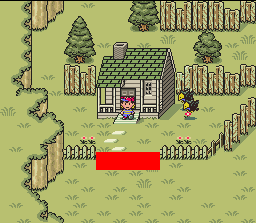 PHOTO #5: Mountain Cabin
To Get: Walk over the hot spot after you've exited the cabin at least once.
To Avoid: Go up and around the cabin to get back to the cave.
|
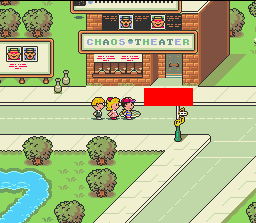 PHOTO #6: Chaos Theater
To Get: Walk into the Chaos Theater.
To Avoid: This one is a tad difficult, but try to squeeze your way in from the left or right.
Be careful when you leave, too.
|
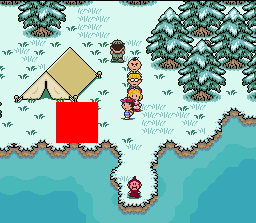 PHOTO #7: Lake Tess
To Get: Walk below the Tessie-watcher's tent.
To Avoid: Just be careful to go around the top if you need to go to the other tents.
|
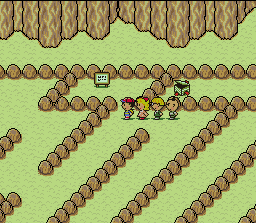 PHOTO #8: Brick Road Maze
To Get: Read the sign in the maze.
To Avoid: Simply don't read the sign.
|
 PHOTO #9: Threed Graveyard
To Get: Walk up to the gravestone that's all by itself between the two
main graveyards.
To Avoid: Just stay away. There's nothing around there, anyway.
|
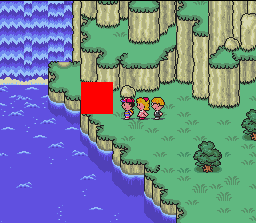 PHOTO #10: Grapefruit Falls
To Get: Just walk up to the waterfall.
PHOTO UNAVOIDABLE
|
 PHOTO #11: Saturn Valley
To Get: Walk by the tree stump after you return from Belch's Factory.
To Avoid: Stay as far left as possible when walking to the Milky Well cave entrance.
|
 PHOTO #12: Circus Tent
To Get: Walk up to the circus tent in Threed after the Zombie Paper stops the zombies.
To Avoid: Just stay away from the circus tent after you use the Zombie Paper. There's no
need to go back, anyway.
|
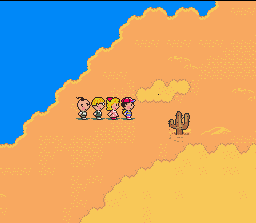 PHOTO #13: Black Sesame Seed
To Get: Talk to the Black Sesame Seed in the western half of the Dusty Dunes Desert.
To Avoid: Simply don't talk to it.
|
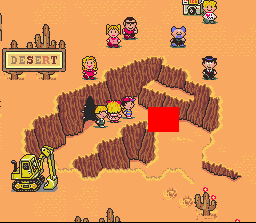 PHOTO #14: Gold Mine Entrance
To Get: Beat all the Guardian Diggers in the gold mine, then go outside.
To Avoid: This requires some trickery, but if everyone in your party dies
after you defeat all the Guardian Diggers (but before going outside), you can avoid
the photo. Get everyone poisoned (Thirsty Coil Snakes are good) before you
fight the final mole.
|
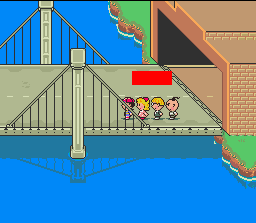 PHOTO #15: Fourside Bridge
To Get: Walk along the bridge between the Dusty Dunes Desert and Fourside, near the top.
To Avoid: Just walk lower if you need to walk into town. Only bums walk into town anyway.
Buses and teleporting are faster, plus they don't trigger photo spots.
|
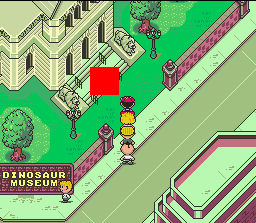 PHOTO #16: Fourside Museum 1
To Get: Walk up to the Fourside Museum.
To Avoid: Walk as far from the center of the steps as you can when going inside. You can also
use the teleport trick here. Just be careful when you leave!
|
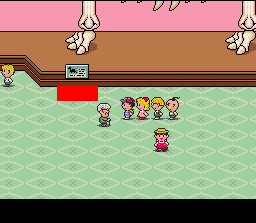 PHOTO #17: Fourside Museum 2
To Get: Walk up to the sign by the dinosaur bones.
To Avoid: Simply stay away.
|
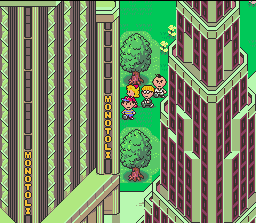 PHOTO #18: Monotoli Building
To Get: This one is often overlooked. Just walk into this area peeking out between buildings.
To Avoid: Simply stay away.
|
 PHOTO #19: Deptartment Store
To Get: Walk near the toys on the top floor of the Fourside Department Store.
To Avoid: Simply stay away. Go around if you need to.
|
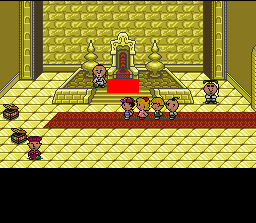 PHOTO #20: Throne Room
To Get: Enter the Dalaam throne room after Poo has teamed up with Ness and friends.
To Avoid: Simply stay away.
|
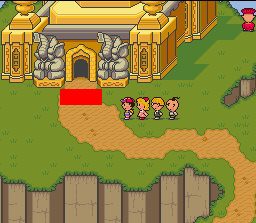 PHOTO #21: Dalaam Palace
To Get: Walk up to the palace in Dalaam after Poo has teamed up with Ness and friends.
To Avoid: Simply stay away, or use the teleport trick.
|
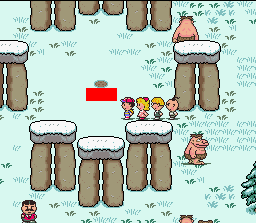 PHOTO #22: Stonehenge
To Get: Walk to the Stonehenge base entrance from below.
To Avoid: Simply stay away, and enter from other directions when necessary.
|
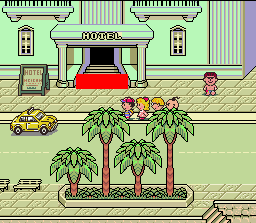 PHOTO #23: Summers Hotel
To Get: Walk up to the hotel in Summers.
To Avoid: Simply stay away, or use the teleport trick.
|
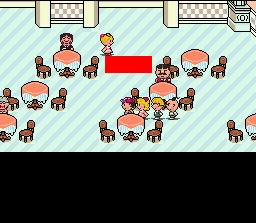 PHOTO #24: Summers Restaurant
To Get: Walk into the center of the Summers restaurant.
To Avoid: Stay out of the restaurant, or stay away from the central area if you
do go inside.
|
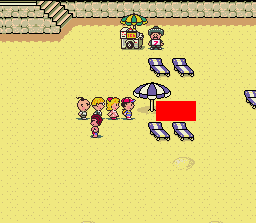 PHOTO #25: Summers Beach
To Get: Walk around the beach umbrellas near the gelato vendor in Summers.
To Avoid: Simply stay away.
|
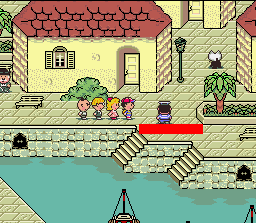 PHOTO #26: Toto Docks
To Get: Walk near the ship captain.
To Avoid: Go around.
|
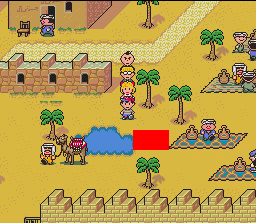 PHOTO #27: Scaraba
To Get: Walk around the bazaar area.
To Avoid: Simply don't pass through that part of town.
|
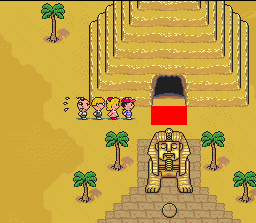 PHOTO #28: Pyramid Entrance
To Get: Walk up to the pyramid entrance.
To Avoid: Use PSI Teleport α and go in diagonally from the left or
right. It might take a few tries, but it's possible.
|
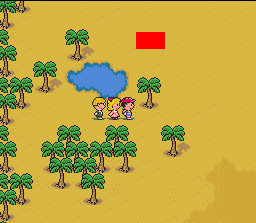 PHOTO #29: Southern Scaraba
To Get: Walk around the desert south of Dungeon Man.
To Avoid: Simply avoid that patch of desert.
|
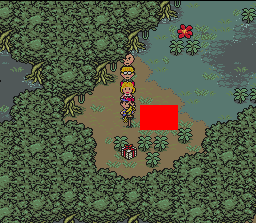 PHOTO #30: Deep Darkness
To Get: Walk near the myna bird in the central area of Deep Darkness.
To Avoid: Simply stay away or avoid the area to the right of the bird.
|
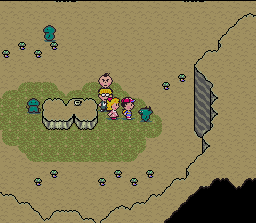 PHOTO #31: Tenda Chief
To Get: Talk to the Tenda chief after you've cured the Tendas' shyness.
PHOTO UNAVOIDABLE
|
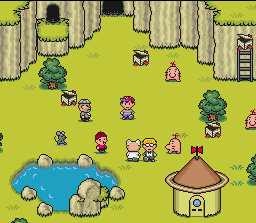 PHOTO #32: Saturn Valley
To Get: This photo is automatically added to the photo book at the end of the game.
PHOTO UNAVOIDABLE
|
