SCENE 35 - THE ULTIMATE DUNGEON
Location: Southern Scaraba / Dungeon Man
Maps: Map 1, Map 2
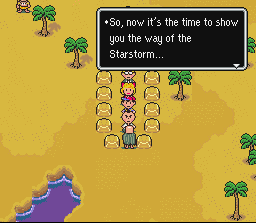
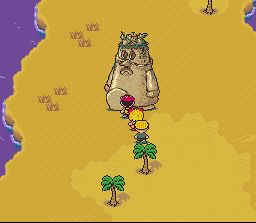
| Upon exiting the pyramid, you'll enter into a field on the east side of the southern continent. As you leave, the Star Master will suddenly appear in front of you. He'll say that it's time to teach Poo the power of the Starstorm. There's really no choice here, so Poo will briefly be leaving your party. He and the Star Master will vanish to parts unknown. |
|
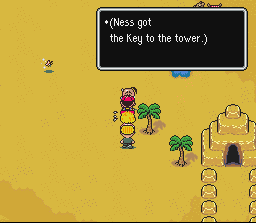
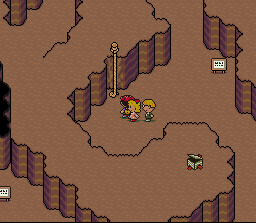
| Once Poo leaves, you're free to explore the southern continent. There are some pretty nasty baddies floating around here, so don't linger. Another good reason not to linger is that you can still develop heat stroke in this place. Next to a tree to the left of the pyramid's exit stands a native with a spear. Speak to him and he will give you the Key to the Tower. |
|
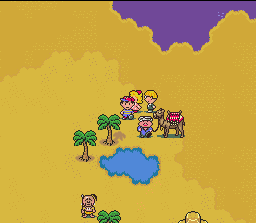
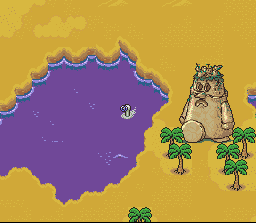
| A little further north of the native is a small oasis, where a man is standing next to a camel. This man will sell you some pretty nice items, although odds are you don't have any money on hand to pay him. |
|
|
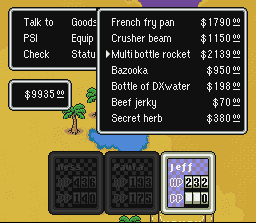
The Multi-Bottle Rocket is Jeff's best weapon in the game. It's pricy, but you should buy at least two at a time whenever you come up against a boss. You don't really need them now, though. Be sure to buy Paula the French Fry Pan. If you don't have the money right now, that's okay. You'll soon be coming across an ATM, so you can just get the money from there and come back. |
|
| Once you obtain the Key to the Tower, head northwest across the peninsula. Eventually you'll come to a strange tower that looks like a person. Stand in between its feet and use the Key to the Tower. You will enter it. Welcome to Dungeon Man. |
|
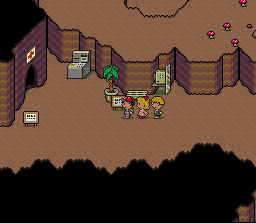
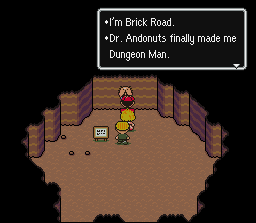
| Dungeon Man is the creation of Brick Road. Remember the guy from Winters? He's back, and this time he's placed himself inside the dungeon itself, essentially making him a living dungeon. You start on the first floor. When you enter, you'll find an ATM and pay phone to your left side. There's also a "Good Night Bench" that you can use to restore your HP/PP. Through the door at your left is a Doctor and a Healer, who can cure your status ailments. |
|
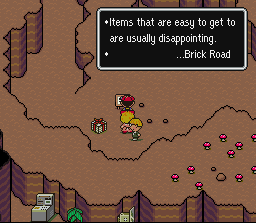
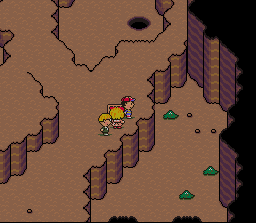
| Once you're ready, head to your right and then north, around the small rock outcropping. Stick close to this outcropping and follow it around. If you take the first ramp and then follow it to the left, you can snag a Cup of Lifenoodles, while if you take the second ramp and follow it north, you can get your hands on a Super Plush Bear. You should probably take the bear, it may be useful for the second floor. |
|
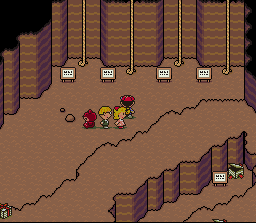
| The first floor is rather small and has only some low level enemies. They're mostly Scalding Cups of Coffee and Mystical Records, both enemies you fought at the Fourside Dept. Store. Since you've gained many levels since then, they should pose no threat. Once you travel all the way north on the first floor, you'll come to four ropes leading above. Take the second rope from the right to get to the 2nd floor. The other three are dead ends. |
|
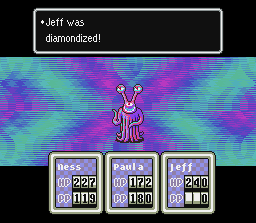
| The enemies here are a bit more annoying, and can dish out some real damage if you're not ready. There are some Lesser Mooks up here. Be especially careful around them -- they can cast PSI Freeze, and what's worse, their glare can diamondize you. It's not a pretty sight when one or more of your party members are diamondized, so be very cautious when fighting these enemies. The Super Plush Bear can't be frozen or diamondized, though! |
|
| Follow the path on this floor around the south, then left, and finally north again once you see an opening. To your left is a rope. Take this and continue north to the next rope, then take this one to the third floor. If you want, you can continue left past the second rope and grab a PSI Caramel from the gift box there, which will give you 20 PP when consumed. |
|
| There aren't any enemies on the third floor. This floor is Dungeon Man's "zoo". You can walk around and check out the pens of animals here, if you want, and also rest on the bench in the lower left corner. Once you're done, head around this area and up the rope to the fourth and final floor. |
|
| Ahead of you, you'll see Brick Road's face sticking out of the wall. Talk to him and he will heal both HP/PP and status ailments. Brick Road will give a short speech, and then agree to follow you. Head south and drop in the hole you see there. Continue dropping through the holes until you end up on the first floor. Then, head south and exit. Dungeon Man will now be following you. |
|
| Dungeon Man can come in handy during battles. He's incredibly strong, so don't worry now if you get attacked by those floating crystals -- with Dungeon Man on your side, they'll be pancakes. |

|
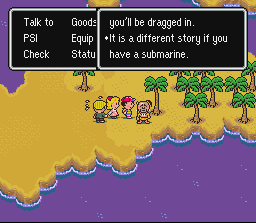
| That said, continue heading south across the continent. Eventually, you will come to some palm trees. If you walk through them, Dungeon Man will get stuck and you'll have to continue on your own. |

|
| Travel to your right, and you will find another one of those native guys with the spears near some trees. Talk to him, and he will tell you that you need a Submarine in order to cross the ocean to the next area, Deep Darkness. |
|
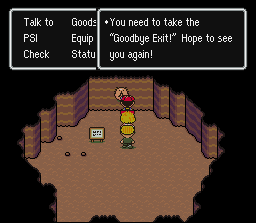
| Return to Dungeon Man and speak with him. He will tell you that he may have a submarine in his collection, and if you can fix it up, it's all yours. Re-enter Dungeon Man and proceed to the fourth floor again, using the same route that you used earlier. This time, Brick Road will tell you to take the "Goodbye Exit". |
|
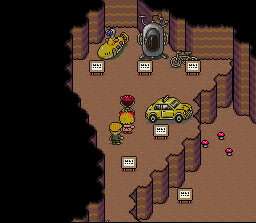
| Pass the first hole you see, and proceed around the path to a second hole. Drop through it and the following holes until you reach the first floor again. This time, you will be on top of the rocky outcropping that you couldn't reach before. There's a pay phone up here, so save your game if you want. Then head north to Brick Road's vehicle collection. |
|
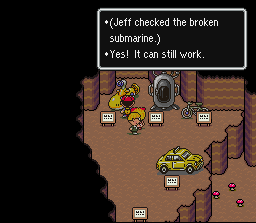
| You can use the Instant Revitalizer (the machine shaped like a giant oval pod) to completely heal your party's HP/PP. Then check the yellow submarine. Jeff will get an idea, and begin to fix it. |
|
| Now just sit back and watch the scenes that follow. The submarine will be placed into the water and the party will get into it. Then they'll take off. Next stop: Deep Darkness. |
|
ITEMS LOCATED HERE:
ENEMIES LOCATED HERE:


SHOPS LOCATED HERE:
|
|
|||||||||||||||
|
|
||||||||||||||
Pyramid | EarthBound Walkthrough Top | Deep Darkness