|
Now that you're stocked up and familiar with Dalaam's few points of interest, it's time to do what you came here for. Head all the way south, until you reach the cave entrance with the three bunny statues blocking your way. Stand next to them and use the Carrot Key. Voila! The rabbits vanish, a la Pencil Statue. Now you're free to explore the dungeon of Pink Cloud.
|

|
|
|
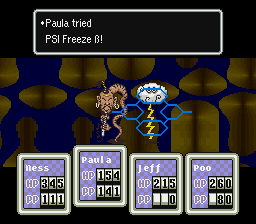
Many of the enemies in here are tough, but are also good for gaining experience and levels. Before you take on the dungeon fully, you can hop in and out of the main entrance and fight a few baddies. Be sure to use some nasty PSI attacks like Rockin' and Freeze to take them out quickly. Remember that you can always go back to Poo's master to heal yourself for free, so keep doing this for a while if you want to.
|
|
|
Eventually you'll come to a point when the experience the enemies give you no longer increases your levels quickly. A level of 45 to 50 is probably high enough.
A few enemies in this place use thunder attacks (including the boss), so you'll be glad that you brought the Franklin Badge along.
|
|
|
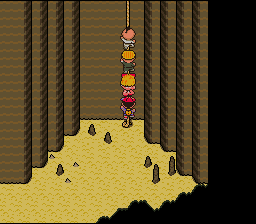
 A good strategy for this dungeon (and most other dungeons) is to do the old "enemy respawn" trick. If you see too many enemies up ahead, just walk in the opposite direction until you can judge that you're about a screen and a half away from them. Then when you return, the enemy count will be totally different. Sometimes, there may not be any enemies at all! This works especially well in the initial area, where you climb up and down the ropes.
|
|
|
|
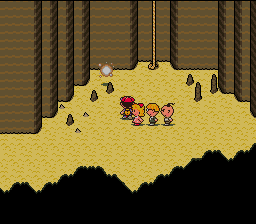
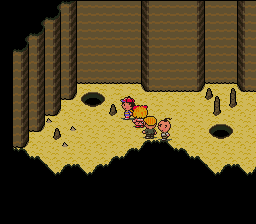
This dungeon is pretty straightforward. Head up the ropes at the beginning and go left, then drop down the hole you find. Just walk right up to it and you'll plop down onto the next screen. Be careful, though! Most of the time when you drop onto the next screen, there will be a whole score of baddies waiting for you. They'll sometimes be clustered around you, so be prepared to fight them off, and hope that they don't get a surprise attack on you.
|
|
|
|
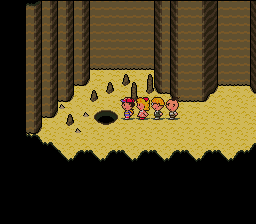
In the next area, head down the FAR LEFT hole. This area may be the only confusing one, because there are three holes. The first leads you back to the beginning and the second places you in a really out of the way spot, so if you're going for the boss, take the far left hole. Then all you need to do is hop down one more hole and continue left, and you should be at the shining spot.
|
|
|
|
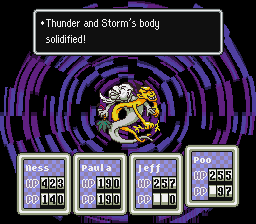
Thunder & Storm can be pretty nasty, but thankfully you have the Franklin Badge, which will repel their Crashing Boom Bang attack. Throw everything you have at these guys, particularly your strongest PSI Freeze attacks. Keep in mind that at this point, both Paula and Poo can use Freeze, so have both of them using it almost every turn.
|
|
|
|
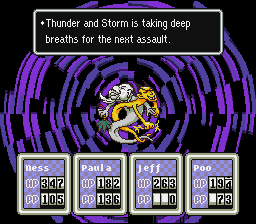
Occasionally, Thunder & Storm will "summon a storm", which is the equivalent of a really high-end PSI Flash attack. It'll probably cause some pretty wicked status ailments, or even kill you -- but odds are it may even do nothing. In any case, some PSI Freeze to stop them, as well as a handful of Big Bottle Rockets to blast them, should make very quick work of them.
|
|
|
|
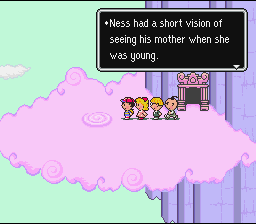
After you finish off Thunder & Storm, head through the door and you'll step out onto a -- you guessed it -- Pink Cloud. Collect the melody here and return to the cave, but don't leave just yet! There are a few really nice items in this cave, so now that the enemies run away from you, it'll be much easier to collect!
|
|
|
|
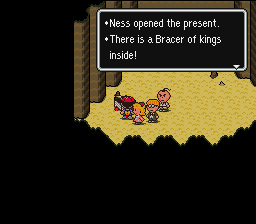
First off, when you re-enter the cave, drop down the only hole that you find. You'll land right next to a present that contains -- ta da! -- the Bracer of Kings! This is one of the four pieces of equipment specifically made for Poo. It will increase Luck and protect against Sleep attacks. If nothing else, GET THIS ITEM.
|
|
|
|
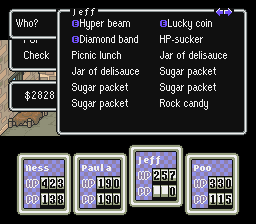
Another item of interest here is the Rock Candy. Odds are you passed it on your way to the boss. After you drop down the hole in the room with 3 holes, you'll come across a present near the next hole containing this item. This is one of the most valuable things in the game, so don't waste it! Rock Candy will permanently raise a random attribute by one point for whoever you use it on!
|

|
|
|
But wait, there's a nifty trick you can use! Give the Rock Candy and some condiments to one person, then move the Rock Candy so it's the last item in that person's inventory. Use the Rock Candy in battle and only the condiment will get used up! The best condiments to use are Sugar Packets or Jars of Delisauce. This trick can make for some insane stat increases.
|
|
|


